Wednesday, April 5, 2017

Polaroids


          For my polaroid project, I used 13 polaroid frames to crop a picture of me.  I didn't place any of them similarly so as to make them look scattered onto the background.  I put parts of the background image into the foreground over the photos (the crochet needle, arm, and coffee cup) with the magnetic lasso tool to show depth.  The part I pulled forward was my hair (by removing part of the polaroid frames), so I removed parts of the polaroid frames so it looked like it was over them.  I chose a background that doesn't have a lot of loud colors so that it wouldn't take away from the polaroids.

Friday, March 17, 2017

DVD Cover


          I made this DVD cover of Holes by starting off by creating the half inch margin for the spine.  I wanted to make this more sarcastic so instead of Walt Disney, this is made by "Wait Gisney", and is entitled "Holes - aka that one movie about that one guy with that really weird name."  I created the review/summary on the back to be satirical as well "Stanley Yelnats has a history of bad luck in his family.  He gets sent to a juvenile delinquent camp in the middle of nowhere to dig holes.  There he meets Hector Zeroni and they run away, eat some onions, and find Stanleys long lost treasure.  In the end, his family makes shoes stink less."  I faded the scene of Stanley and Zero so that it looked less rigid and created a background for the front cover.

Monday, January 4, 2016

Contact Sheet

Bottom (bottom): test strips Bottom (top): film sheet Middle (bottom): test strip Middle (right): small sheets Middle/Top: final contact sheet

          To make a contact sheet I first photographed a classmate (Molly) and developed the film. Then I went into the dark room to use the enlargers and actually made a contact sheet. I focused the enlarger to fit a 5' by 7' area then got out a small strip of paper and placed the film on top, and moved the cardboard on top of that to make a test strip. I made a few before deciding on how many seconds looked the best.
           After making a small strip of the desired time, I proceeded to make small strip test strips of my preferred negative. I focused the enlarger again and brought the negative carrier out into the light and inserted my negative. I made the contact sheet and put it through the chemicals and repeated this a few times until I had the desired values. Once my contact sheet had the right values, I made a full sheet, which had a rough border so we made another.
          If I were to do this project again, I wouldn't do anything differently. I like how the finals came out and how little adjustments I had to make. I demonstrated how this project was supposed to be done by making test strips of the film strip and the specific negative, then testing out the most varying color value and then finishing with a full sheet.

Monday, December 21, 2015

Coffee Can Camera

Top/middle left: positives  Middle/top right: negatives  Bottom: light test

           I made the coffee can camera by taking a coffee can, painting the whole thing black (including the lid), and coating it in black paper and aluminum foil. This makes sure that there are no light leaks, which would ruin the photograph. Next, I poked a hole in the side with a nail and covered the hole with electrical tape, again, so that no light leaks.
          Before actually taking a photo I did a light test with the hole covered. The paper came out grey on top so I covered the lid with more aluminum foil and did another test. This one came out white so now I can actually take a proper photograph. I went outside and put the can on a stool facing where another student was sat and peeled off the electrical tape and covered it again after thirty seconds. I repeated this until I was satisfied with the quality of the image. I then (tried) made a positive of the photo by placing the negative face down on the photo-sensitive paper and continuing as normal with the steps of the enlarger. I never could get the positive quite right.
          I felt as this project was very easy apart from the process of creating a positive. It didn't take very long to get the hang of using the coffee can camera. The first negative that was produced came out very good but off center so we taped the test paper to the back of the can so it would stay in place. Other than a few technical mishaps with placing, I wouldn't do anything different with this project.

Wednesday, November 18, 2015

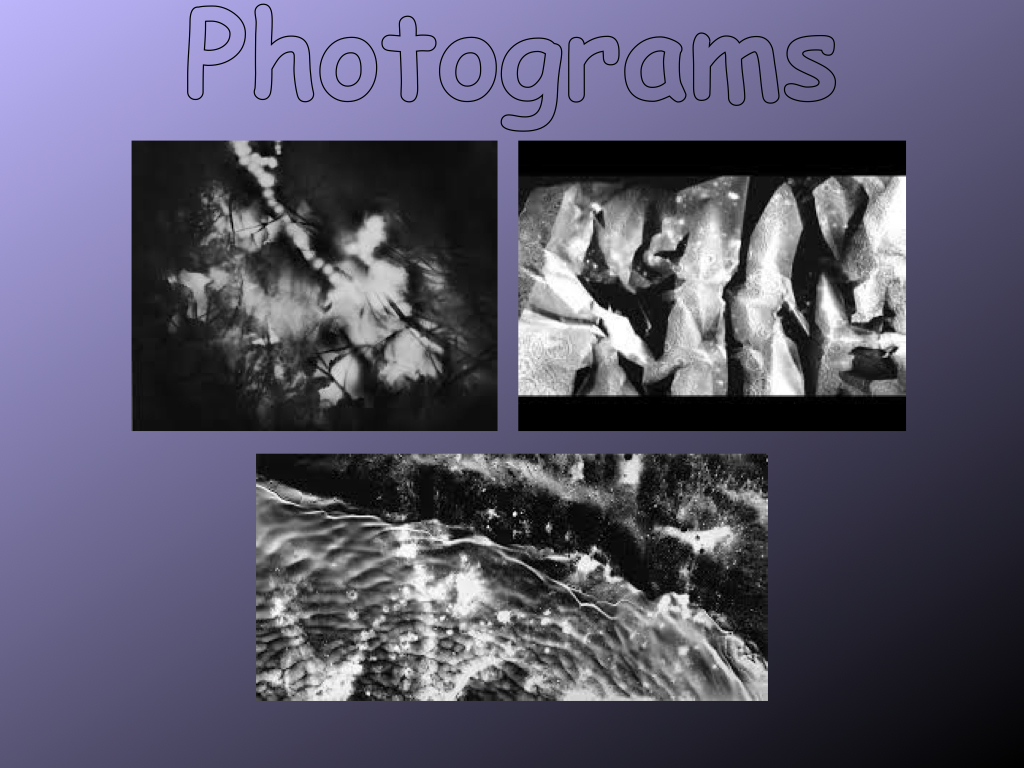
Photograms

Left: magazine Top: symmetrical Bottom: landscape Left Strip: magazine Right Strip: value scale


         I think the strongest technical aspect of my work is how I was able to achieve black, white, and grey in all my photograms. Especially in my magazine photogram, due to the magazine paper not being transparent, I was surprised to see black. It took me many tried to get the current colors, so this was the hardest part of the activity.
         In my value scale, there were too many variations of black and not enough variations of grey. I probably could have set the timer on the enlarger to :04 or :03 instead of :05. This would have let the light affect the photo paper less, causing it to be more grey than there currently is. The landscape photogram was the easiest to make because the materials used could be slightly strayed and still look good, unlike those of the symmetrical photogram.
         I demonstrated the objectives of this activity by having a range of values from black to white and everything in between. And if I were to do this art activity again, I would choose a different type of magazine that had thinner paper.